华为鸿蒙HarmonyOS已经发展到4.0,使用ArkTS作为开发语言。这篇文章结合Dynamsoft Service开发一个简单的鸿蒙应用,用来获取办公室里连接PC的扫描仪,把文档扫描到手机里。
准备工作
- Dynamsoft Service
-
在连接着扫描仪的电脑上安装Dynamsoft Service。安装包可以满足各种国产操作系统,比如统信UOS,麒麟Kylin OS等。支持的架构有:x86,x64,arm64,mips64el。支持的扫描仪协议包括TWAIN,WIA,SANE,ICA和eSCL(AirPrint)。下载地址:
- Windows: Dynamsoft-Service-Setup.msi
- macOS: Dynamsoft-Service-Setup.pkg
- Linux:
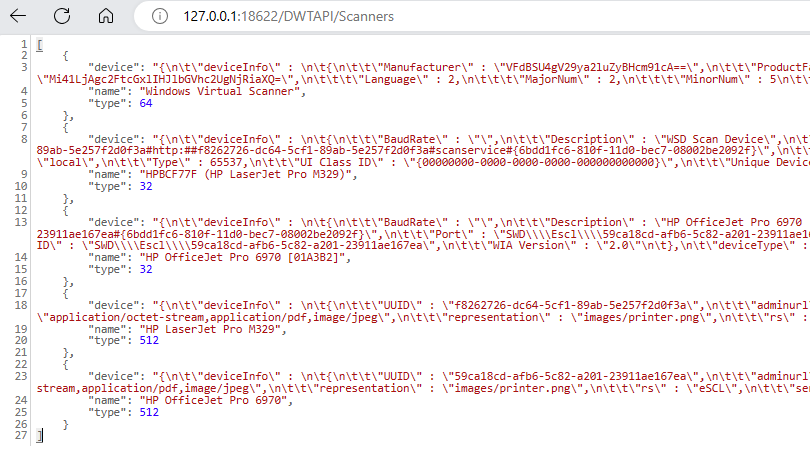
然后访问
http://127.0.0.1:18622/DWTAPI/Scanners。正常安装可以获取到扫描仪列表。
-
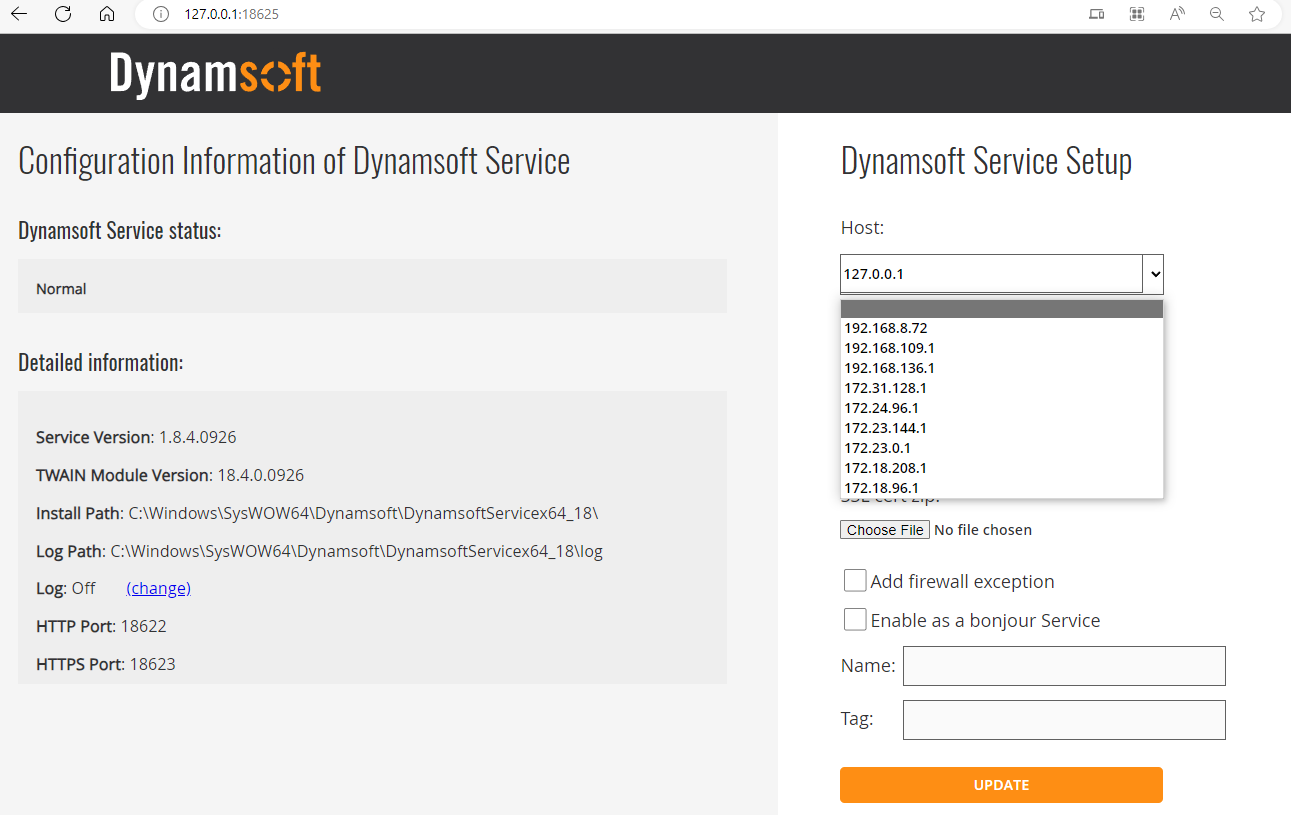
在浏览器中打开
http://127.0.0.1:18625/,把host从127.0.0.1改成PC的局域网IP地址。比如192.168.8.72,修改成功可以通过局域网IP地址访问192.168.8.72:18622/DWTAPI/Scanners获取到扫描仪列表。
-
申请一个免费试用序列号,扫描文件的时候需要用。
-
-
DevEco Studio
下载地址:https://developer.harmonyos.com/cn/develop/deveco-studio/#download。安装前先安装Node.js,路径中不要带空格,否则安装DevEco Studio, 下载HarmonyOS SDK可能会失败。
鸿蒙程序开发
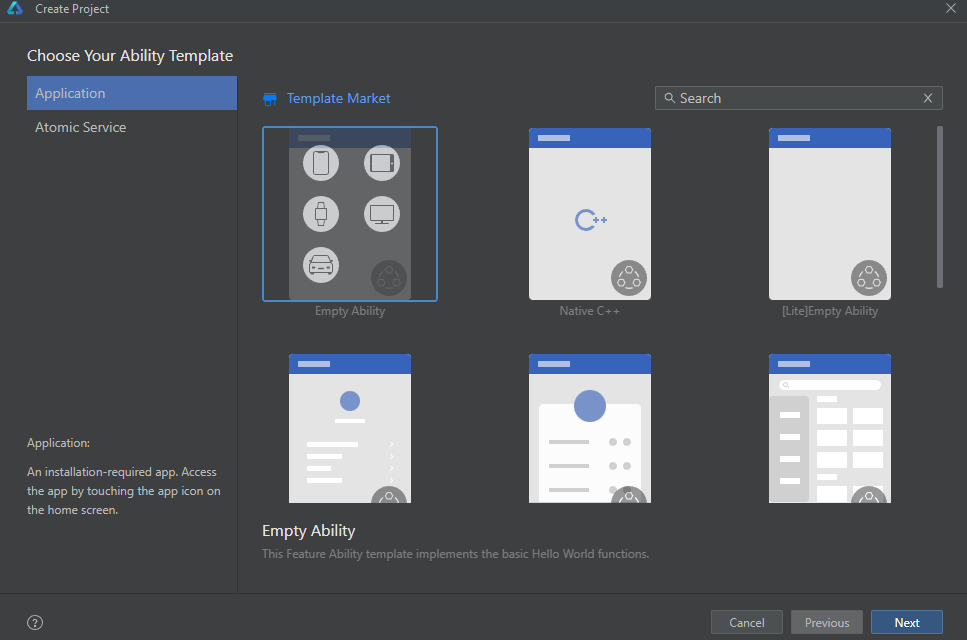
在DevEco Studio中新建工程。

在entry/src/main/module.json5中添加网络权限:
{
  "module": {
    ...
    "abilities": [
      ...
    ],
    "requestPermissions": [{"name": "ohos.permission.INTERNET"}]
  }
}
打开entry/src/main/etc/pages/Index.ets,导入网络和图像模块:
import http from '@ohos.net.http';
import image from '@ohos.multimedia.image';
@Entry
@Component
struct Index {
  @State deviceNames: SelectOption[] = [{value: ''}]
  @State displayImage: PixelMap = undefined
  licenseKey: string = "LICENSE-KEY"; // https://www.dynamsoft.com/customer/license/trialLicense?product=dwt
  host: string = 'http://192.168.8.72:18622'
  devices = []
  index: number = 0
  build() {
    Column() {
      Row() {
        Button('Get Devices')
          .onClick(() => {

            }
            );
          }).width('30%')
        Column() {
          Select(this.deviceNames)
            .selected(this.index)
            .value(this.deviceNames[this.index].value.toString())
            .font({size: 14, family: 'serif', style: FontStyle.Normal })
            .onSelect((index:number)=>{
              this.index = index;
            })
        }.width('40%').alignItems(HorizontalAlign.Center)

        Button('Scan')
          .onClick(() => {

            }
            );

          }).width('30%')
      }.backgroundColor(0xFFFFFF).padding({ left: 12 }).width('100%').margin({bottom: 5})
      Divider()
      Image(this.displayImage).height('100%').width('100%')
    }.justifyContent(FlexAlign.Start).width('100%').height('100%').padding({left: 5, top: 5, right: 5, bottom: 5})
  }
}
这里的licenseKey和host需要替换成自己的。
当点击Get Devices按钮的时候,我们通过HTTP GET来获取扫描仪列表:
Button('Get Devices')
    .onClick(() => {
    let url = this.host + '/DWTAPI/Scanners'

    let httpRequest = http.createHttp();
    httpRequest.on('headersReceive', (header) => {
        console.info('header: ' + JSON.stringify(header));
    })

    httpRequest.request(
        url,
        {
        method: http.RequestMethod.GET,
        header: {
            'Content-Type': 'application/json'
        }
        }, (err, data) => {
        if (!err) {
        try {
            const jsonArray = JSON.parse(data.result.toString())
            this.devices = []
            let tmp: SelectOption[] = []
            for (const obj of jsonArray) {
            tmp.push({value: obj.name})
            this.devices.push(obj)
            }

            if (tmp.length > 0) {
            this.index = 0
            this.deviceNames = tmp
            }

        } catch (error) {
            console.error("Error parsing JSON:", error);
        }

        console.info('code:' + JSON.stringify(data.responseCode));

        } else {
        console.info('error:' + JSON.stringify(err));
        httpRequest.off('headersReceive');
        httpRequest.destroy();
        }
    }
    );
    }).width('30%')
当点击Scan按钮的时候,我们通过HTTP POST来触发扫描仪扫描文档. 字段extraData用于传输内容,等同于HTTP请求中的body。传输的参数可以自定义,具体可以参考在线文档。
Button('Scan')
    .onClick(() => {
    if (this.devices.length == 0) {
        return;
    }
    let parameters = {
        license: this.licenseKey,
        device: this.devices[this.index].device,
        config: {
        IfShowUI: false,
        PixelType: 2,
        //XferCount: 1,
        //PageSize: 1,
        Resolution: 200,
        IfFeederEnabled: false,
        IfDuplexEnabled: false,
        }
    };

    let url = this.host + '/DWTAPI/ScanJobs';
    let httpRequest = http.createHttp();
    httpRequest.on('headersReceive', (header) => {
        console.info('header: ' + JSON.stringify(header));
    })
    httpRequest.request(
        url,
        {
        method: http.RequestMethod.POST,
        header: {
            'Content-Type': 'application/json'
        },
        extraData: JSON.stringify(parameters),
        }, (err, data) => {
        if (!err) {
        if (data.responseCode == 201) {
            let jobId = data.result;
            let url = this.host + '/DWTAPI/ScanJobs/' + jobId + '/NextDocument';
            let httpRequest = http.createHttp();
            httpRequest.request(
            url,
            {
                method: http.RequestMethod.GET,
                expectDataType: http.HttpDataType.ARRAY_BUFFER
            }, (err, data) => {
            if (!err) {
                if (data.responseCode == 200) {
                    // show image
                }
            } else {
                console.info('error:' + JSON.stringify(err));
                httpRequest.destroy();
            }
            }
            );
        }
        } else {
        console.info('error:' + JSON.stringify(err));
        httpRequest.off('headersReceive');
        httpRequest.destroy();
        }
    }
    );

    }).width('30%')
获取到的图像是一个ArrayBuffer,我们通过image.createImageSource来创建一个PixelMap对象,然后把它赋值给displayImage,就可以在UI上显示出来了。
let imageData = data.result as ArrayBuffer;
const imageSource = image.createImageSource(imageData);
imageSource.createPixelMap().then(pixelmap => {
    this.displayImage = pixelmap;
});
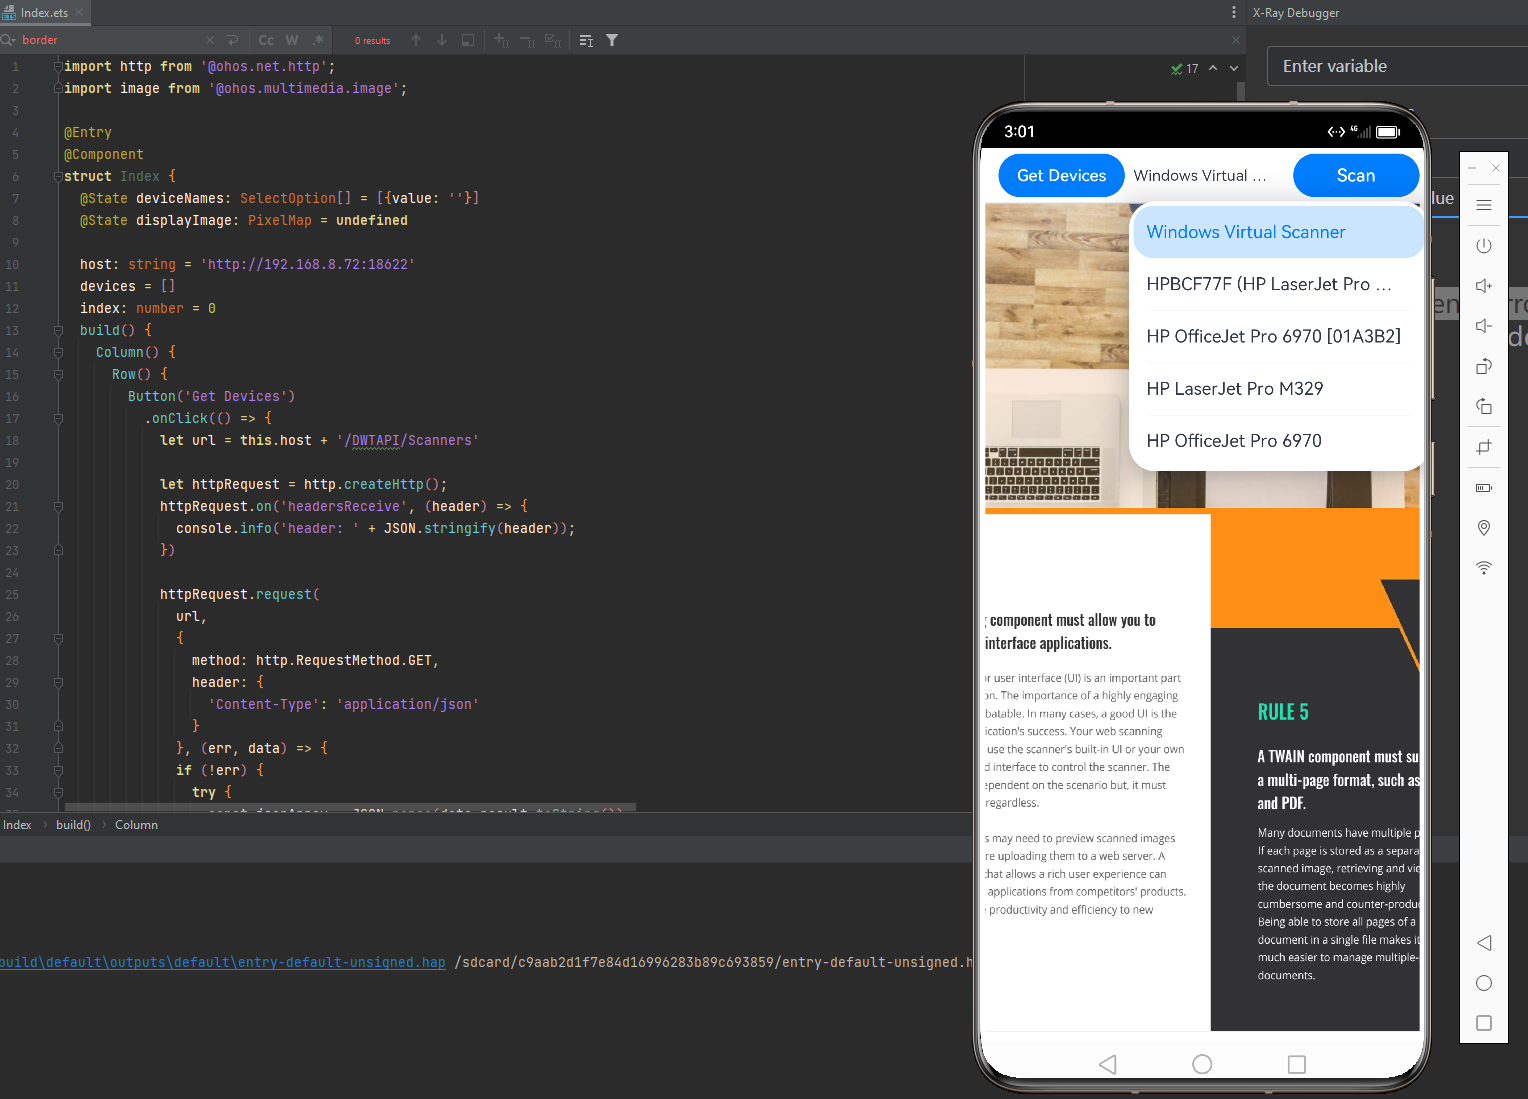
在华为手机或者鸿蒙模拟器中运行文档扫描程序:

