
由于供应商和硬件规格的不同,构建Android相机应用比构建iOS相机应用要复杂得多。谷歌在Android 5中推出了Camera2,该接口比原来的Camera具有更丰富的控制功能。在本文中,我想用最少的代码分别用Camera和Camera2创建Android相机预览应用,并比较这两套API的使用差异。
用最少的代码构建Android相机预览应用
用Empty Activity模板创建一个新项目。
在AndroidManifest.xml中声明与相机相关的使用权限:
<?xml version="1.0" encoding="utf-8"?>
<manifest xmlns:android="http://schemas.android.com/apk/res/android"
    package="com.dynamsoft.camera">

    <uses-permission android:name="android.permission.CAMERA" />

    <uses-feature android:name="android.hardware.camera" />
    <uses-feature android:name="android.hardware.camera.autofocus" />

    <application
        android:allowBackup="true"
        android:icon="@mipmap/ic\_launcher"
        android:label="@string/app\_name"
        android:roundIcon="@mipmap/ic\_launcher\_round"
        android:supportsRtl="true"
        android:theme="@style/AppTheme">
        <activity android:name=".MainActivity" android:screenOrientation="portrait">
            <intent-filter>
                <action android:name="android.intent.action.MAIN" />

                <category android:name="android.intent.category.LAUNCHER" />
            </intent-filter>
        </activity>
    </application>

</manifest>
如果要使应用程序显示为全屏,需要修改values/styles.xml:
<resources>
    <!-- Base application theme. -->
    <style name="AppTheme" parent="Theme.AppCompat.Light.NoActionBar">
        <!-- Customize your theme here. -->
        <item name="colorPrimary">@color/colorPrimary</item>
        <item name="colorPrimaryDark">@color/colorPrimaryDark</item>
        <item name="colorAccent">@color/colorAccent</item>
        <item name="android:windowFullscreen">true</item>
    </style>

</resources>
我希望使代码尽可能简单,因此这里没有使用XML UI布局文件。TextureView和SurfaceView都可以用于预览相机。这里我使用TextureView。
根据TextureView API文档,使用它的代码非常简单:
public class MainActivity extends AppCompatActivity implements TextureView.SurfaceTextureListener, ActivityCompat.OnRequestPermissionsResultCallback {

    private Camera mCamera;
    private TextureView mTextureView;

    @Override
    protected void onResume() {
        super.onResume();

        if (mTextureView.isAvailable()) {
            openCamera(mTextureView.getSurfaceTexture());
        } else {
            mTextureView.setSurfaceTextureListener(this);
        }
    }

    protected void onCreate(Bundle savedInstanceState) {
        super.onCreate(savedInstanceState);
        mTextureView = new TextureView(this);
        mTextureView.setSurfaceTextureListener(this);
        setContentView(mTextureView);
    }
}
注册TextureView.SurfaceTextureListener来监视有关事件:
public void onSurfaceTextureAvailable(SurfaceTexture surface, int width, int height) {
    openCamera(surface);
}

public void onSurfaceTextureSizeChanged(SurfaceTexture surface, int width, int height) {
}

public boolean onSurfaceTextureDestroyed(SurfaceTexture surface) {
    if (mCamera != null) {
        mCamera.stopPreview();
        mCamera.release();
    }

    return true;
}

public void onSurfaceTextureUpdated(SurfaceTexture surface) {
}
一旦它可用,我们就可以打开相机,设置参数并开始相机预览:
private static final int REQUEST\_CAMERA\_PERMISSION = 1;
private static final SparseIntArray ORIENTATIONS = new SparseIntArray();
static {
    ORIENTATIONS.append(Surface.ROTATION\_0, 90);
    ORIENTATIONS.append(Surface.ROTATION\_90, 0);
    ORIENTATIONS.append(Surface.ROTATION\_180, 270);
    ORIENTATIONS.append(Surface.ROTATION\_270, 180);
}

private void openCamera(SurfaceTexture surface) {
    if (ContextCompat.checkSelfPermission(this, Manifest.permission.CAMERA)
            != PackageManager.PERMISSION\_GRANTED) {
        requestCameraPermission();
        return;
    }

    mCamera = Camera.open(0);
    try {
        mCamera.setPreviewTexture(surface);
        int rotation = getWindowManager().getDefaultDisplay()
                .getRotation();
        mCamera.setDisplayOrientation(ORIENTATIONS.get(rotation));
        Camera.Parameters params =  mCamera.getParameters();
        params.setFocusMode(Camera.Parameters.FOCUS\_MODE\_CONTINUOUS\_VIDEO);
        mCamera.setParameters(params);
        mCamera.startPreview();
    } catch (IOException ioe) {
    }
}
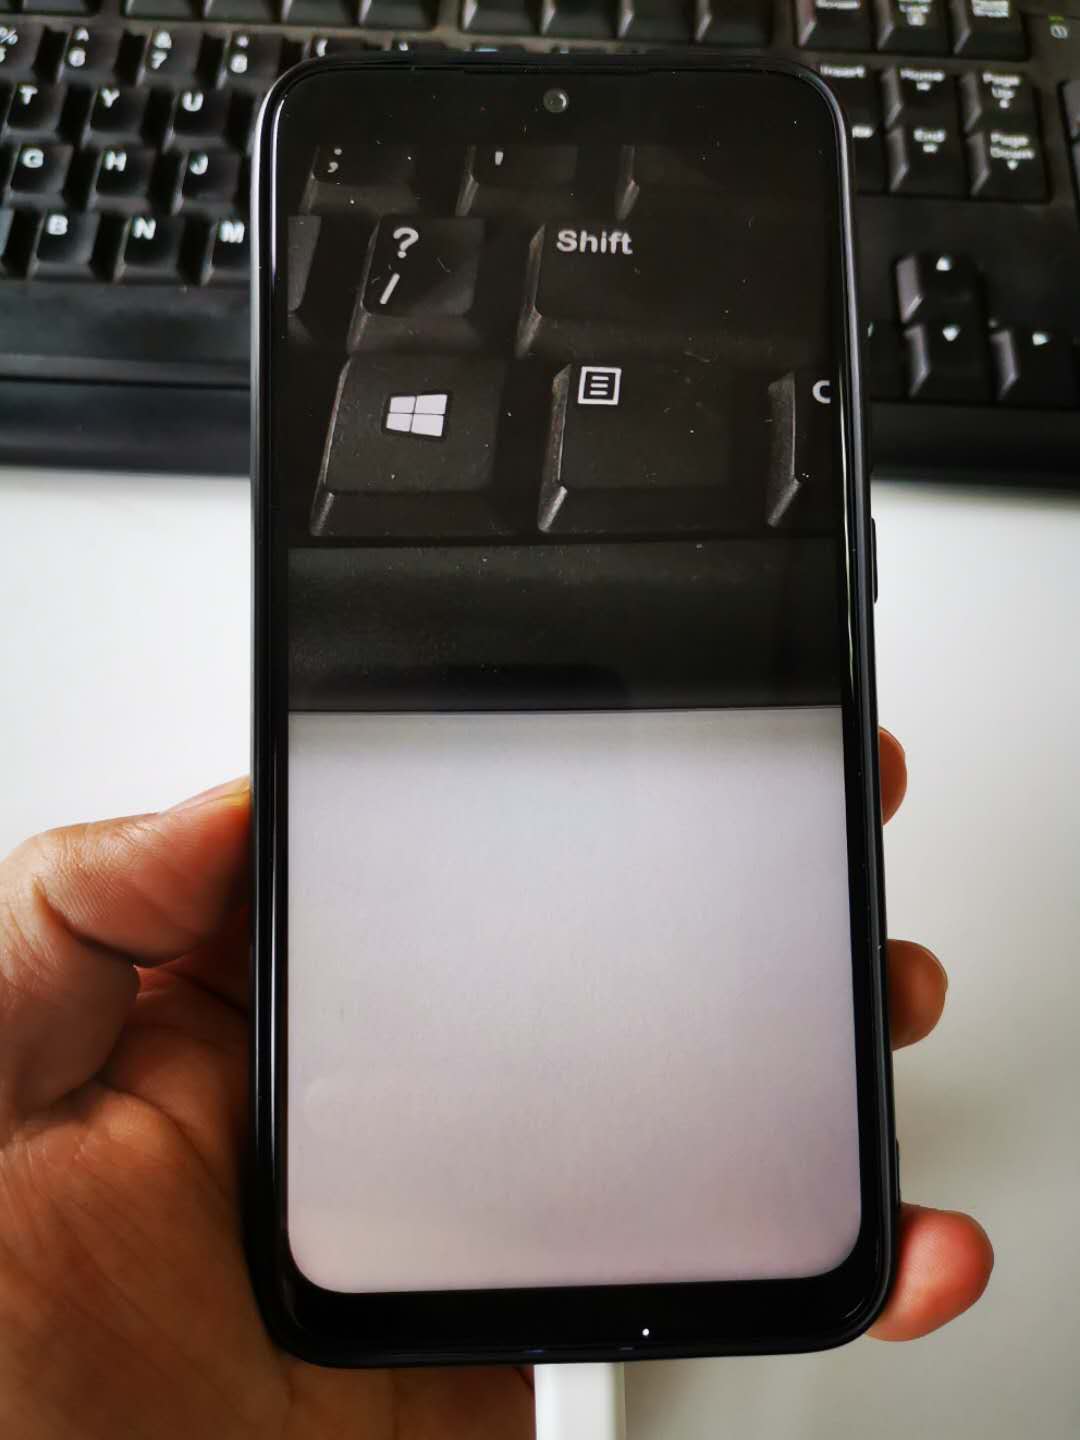
生成并运行应用程序:

看出哪里不对了吗?预览图像似乎被扭曲了。为了解决这个问题,我们可以改用AutoFitTextureView。不过,谷歌提供的代码不支持全屏显示。StackOverflow的答案可以完美地解决这个问题:
import android.content.Context;
import android.util.AttributeSet;
import android.view.TextureView;

/**
 * A {@link TextureView} that can be adjusted to a specified aspect ratio.
 */
public class AutoFitTextureView extends TextureView {

    private int mRatioWidth = 0;
    private int mRatioHeight = 0;

    public AutoFitTextureView(Context context) {
        this(context, null);
    }

    public AutoFitTextureView(Context context, AttributeSet attrs) {
        this(context, attrs, 0);
    }

    public AutoFitTextureView(Context context, AttributeSet attrs, int defStyle) {
        super(context, attrs, defStyle);
    }

    /**
     * Sets the aspect ratio for this view. The size of the view will be measured based on the ratio
     * calculated from the parameters. Note that the actual sizes of parameters don't matter, that
     * is, calling setAspectRatio(2, 3) and setAspectRatio(4, 6) make the same result.
     *
     * @param width  Relative horizontal size
     * @param height Relative vertical size
     */
    public void setAspectRatio(int width, int height) {
        if (width < 0 || height < 0) {
            throw new IllegalArgumentException("Size cannot be negative.");
        }
        mRatioWidth = width;
        mRatioHeight = height;
        requestLayout();
    }

    @Override
    protected void onMeasure(int widthMeasureSpec, int heightMeasureSpec) {
        super.onMeasure(widthMeasureSpec, heightMeasureSpec);
        int width = MeasureSpec.getSize(widthMeasureSpec);
        int height = MeasureSpec.getSize(heightMeasureSpec);
        if (0 == mRatioWidth || 0 == mRatioHeight) {
            setMeasuredDimension(width, height);
        } else {
            if (width < height \* mRatioWidth / mRatioHeight) {
                setMeasuredDimension(height \* mRatioWidth / mRatioHeight, height);
            } else {
                setMeasuredDimension(width, width \* mRatioHeight / mRatioWidth);
            }
        }
    }

}
好的,我已经完成了MainActivity.java,大约有118行代码。这一Android相机预览应用可以正常运行。
接下来,我将基于Google的示例android-Camera2Basic用Camera2类替换Camera类。
用CameraManager打开相机:
private final CameraDevice.StateCallback mStateCallback = new CameraDevice.StateCallback() {

    @Override
    public void onOpened(@NonNull CameraDevice cameraDevice) {
        mCameraOpenCloseLock.release();
        mCameraDevice = cameraDevice;
        createCameraPreviewSession();
    }

    @Override
    public void onDisconnected(@NonNull CameraDevice cameraDevice) {
        mCameraOpenCloseLock.release();
        cameraDevice.close();
        mCameraDevice = null;
    }

    @Override
    public void onError(@NonNull CameraDevice cameraDevice, int error) {
        mCameraOpenCloseLock.release();
        cameraDevice.close();
        mCameraDevice = null;
        Activity activity = MainActivity.this;
        if (null != activity) {
            activity.finish();
        }
    }

};

private void openCamera(int width, int height) {
    if (ContextCompat.checkSelfPermission(this, Manifest.permission.CAMERA)
            != PackageManager.PERMISSION\_GRANTED) {
        requestCameraPermission();
        return;
    }

    setUpCameraOutputs(width, height);
    CameraManager manager = (CameraManager)this.getSystemService(Context.CAMERA\_SERVICE);
    try {
        if (!mCameraOpenCloseLock.tryAcquire(2500, TimeUnit.MILLISECONDS)) {
            throw new RuntimeException("Time out waiting to lock camera opening.");
        }
        manager.openCamera(mCameraId, mStateCallback, null);
    } catch (CameraAccessException e) {
        e.printStackTrace();
    } catch (InterruptedException e) {
        throw new RuntimeException("Interrupted while trying to lock camera opening.", e);
    }
}
获取相机id并计算TextureView的纵横比。计算代码比较复杂:
private void setUpCameraOutputs(int width, int height) {
    Activity activity = this;
    CameraManager manager = (CameraManager) activity.getSystemService(Context.CAMERA\_SERVICE);
    try {
        for (String cameraId : manager.getCameraIdList()) {
            CameraCharacteristics characteristics
                    = manager.getCameraCharacteristics(cameraId);

            Integer facing = characteristics.get(CameraCharacteristics.LENS\_FACING);
            if (facing != null && facing == CameraCharacteristics.LENS\_FACING\_FRONT) {
                continue;
            }

            mCameraId = cameraId;

            StreamConfigurationMap map = characteristics.get(
                    CameraCharacteristics.SCALER\_STREAM\_CONFIGURATION\_MAP);
            if (map == null) {
                continue;
            }

            Size largest = Collections.max(
                    Arrays.asList(map.getOutputSizes(ImageFormat.JPEG)),
                    new CompareSizesByArea());

            int displayRotation = activity.getWindowManager().getDefaultDisplay().getRotation();
            mSensorOrientation = characteristics.get(CameraCharacteristics.SENSOR\_ORIENTATION);
            boolean swappedDimensions = false;
            switch (displayRotation) {
                case Surface.ROTATION\_0:
                case Surface.ROTATION\_180:
                    if (mSensorOrientation == 90 || mSensorOrientation == 270) {
                        swappedDimensions = true;
                    }
                    break;
                case Surface.ROTATION\_90:
                case Surface.ROTATION\_270:
                    if (mSensorOrientation == 0 || mSensorOrientation == 180) {
                        swappedDimensions = true;
                    }
                    break;
            }

            Point displaySize = new Point();
            activity.getWindowManager().getDefaultDisplay().getSize(displaySize);
            int rotatedPreviewWidth = width;
            int rotatedPreviewHeight = height;
            int maxPreviewWidth = displaySize.x;
            int maxPreviewHeight = displaySize.y;

            if (swappedDimensions) {
                rotatedPreviewWidth = height;
                rotatedPreviewHeight = width;
                maxPreviewWidth = displaySize.y;
                maxPreviewHeight = displaySize.x;
            }

            if (maxPreviewWidth > MAX\_PREVIEW\_WIDTH) {
                maxPreviewWidth = MAX\_PREVIEW\_WIDTH;
            }

            if (maxPreviewHeight > MAX\_PREVIEW\_HEIGHT) {
                maxPreviewHeight = MAX\_PREVIEW\_HEIGHT;
            }

            mPreviewSize = chooseOptimalSize(map.getOutputSizes(SurfaceTexture.class),
                    rotatedPreviewWidth, rotatedPreviewHeight, maxPreviewWidth,
                    maxPreviewHeight, largest);

            int orientation = getResources().getConfiguration().orientation;
            if (orientation == Configuration.ORIENTATION\_LANDSCAPE) {
                mTextureView.setAspectRatio(
                        mPreviewSize.getWidth(), mPreviewSize.getHeight());
            } else {
                mTextureView.setAspectRatio(
                        mPreviewSize.getHeight(), mPreviewSize.getWidth());
            }

            return;
        }
    } catch (CameraAccessException e) {
        e.printStackTrace();
    } catch (NullPointerException e) {
    }
}
打开相机后,创建捕获会话以开始预览:
private void createCameraPreviewSession() {
    try {
        SurfaceTexture texture = mTextureView.getSurfaceTexture();
        assert texture != null;
        Surface surface = new Surface(texture);

        mPreviewRequestBuilder = mCameraDevice.createCaptureRequest(CameraDevice.TEMPLATE\_PREVIEW);
        mPreviewRequestBuilder.addTarget(surface);
        mCameraDevice.createCaptureSession(Arrays.asList(surface),
                new CameraCaptureSession.StateCallback() {

                    @Override
                    public void onConfigured(@NonNull CameraCaptureSession cameraCaptureSession) {
                        if (null == mCameraDevice) {
                            return;
                        }

                        mCaptureSession = cameraCaptureSession;
                        try {
                            mPreviewRequestBuilder.set(CaptureRequest.CONTROL\_AF\_MODE,
                                    CaptureRequest.CONTROL\_AF\_MODE\_CONTINUOUS\_PICTURE);

                            mPreviewRequest = mPreviewRequestBuilder.build();
                            mCaptureSession.setRepeatingRequest(mPreviewRequest,
                                    null, null);
                        } catch (CameraAccessException e) {
                            e.printStackTrace();
                        }
                    }

                    @Override
                    public void onConfigureFailed(
                            @NonNull CameraCaptureSession cameraCaptureSession) {
                    }
                }, null
        );
    } catch (CameraAccessException e) {
        e.printStackTrace();
    }
}
使用Camera2,代码行总数增加到337行。
我们应该从Camera迁移到Camera2吗?
很明显,Camera2与Camera不兼容,而且要复杂得多。如果你不需要太多的相机功能,Camera就足够了。如果你想让你的应用拥有先进的相机功能,比如快门速度控制,那么将API从Camera迁移到Camera2是值得的。