
在本文中,我们将编写一个React Native的demo来裁剪图像。它使用React Native Skia和React Native Gesture Handler来提供交互式的裁剪功能。
使用Dynamsoft Document Normalizer检测文档边界并进行透视变换以裁剪图像。
新建项目
创建一个新的React Native项目:
npx @react-native-community/cli@latest init ImageCropper
添加依赖项
-
安装React Native Skia来绘制代表文档边界的多边形。
npm install @shopify/react-native-skia -
安装React Native Gesture Handler,以便使用手势调整多边形。
npm install react-native-gesture-handler react-native-reanimated -
安装React Native Image Picker以从相册中选取图像。
npm install react-native-image-picker -
安装
vision-camera-dynamsoft-document-normalizer以检测和裁剪文档图像。npm install vision-camera-dynamsoft-document-normalizer react-native-vision-camera react-native-worklets-core
此外,在babel.conf.js中添加以下内容:
 module.exports = {
   presets: ['module:@react-native/babel-preset'],
+  plugins: [
+    'react-native-reanimated/plugin',
+    'react-native-worklets-core/plugin',
+  ],
 };
选择图像并将其显示在Skia的Canvas中
使用react-native-image-picker选择图像,我们可以获取其URI和尺寸。
const response = await launchImageLibrary({ mediaType: 'photo'});
const photoUri = response.assets[0].uri;
const photoWidth = response.assets[0].width;
const photoHeight = response.assets[0].height;
然后,使用Skia绘制图像。
export default function Cropper(props:CropperProps) {
  const image = useImage(props.photo!.photoUri);
  const { width, height } = useWindowDimensions();
  return (
    <Canvas style={{ flex: 1 }}>
      <Fill color="white" />
      <Image image={image} fit="contain" x={0} y={0} width={width} height={height} />
      )}
    </Canvas>
  );
}
检测文档并绘制多边形
接下来,检测所选图像中的文档并绘制其多边形。
-
初始化Dynamsoft Document Normalizer的许可证。可以在此处申请许可证。
import * as DDN from 'vision-camera-dynamsoft-document-normalizer'; React.useEffect(() => { const initLicense = async () => { let result = await DDN.initLicense('DLS2eyJoYW5kc2hha2VDb2RlIjoiMjAwMDAxLTE2NDk4Mjk3OTI2MzUiLCJvcmdhbml6YXRpb25JRCI6IjIwMDAwMSIsInNlc3Npb25QYXNzd29yZCI6IndTcGR6Vm05WDJrcEQ5YUoifQ=='); if (result === false) { Alert.alert('','License invalid'); }else{ setInitializing(false); } }; initLicense(); }, []); -
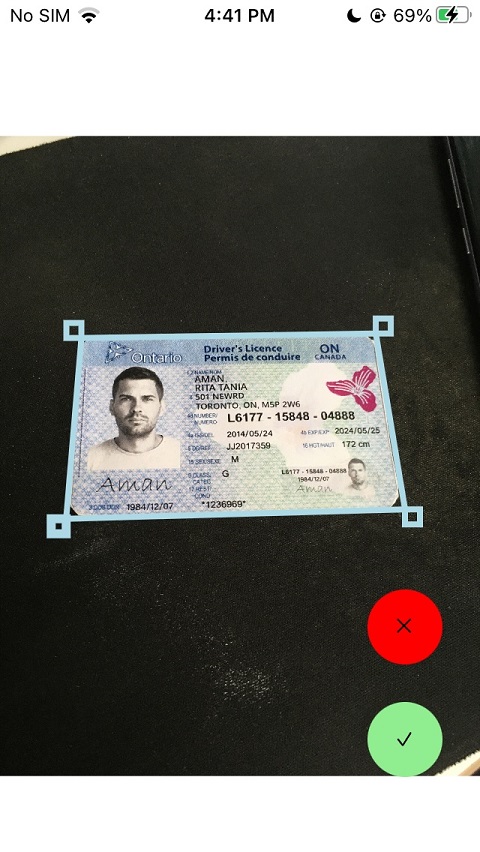
检测文档并将检测结果保存为sharedValue。
const defaultPoints = [{x:100,y:50},{x:200,y:50},{x:200,y:100},{x:100,y:100}];
const points = useSharedValue(defaultPoints);
let results = await DDN.detectFile(props.photo.photoUri);
let detected = false;
for (let index = 0; index < results.length; index++) {
  const detectedResult = results[index];
  if (detectedResult.confidenceAsDocumentBoundary > 50) {
    points.value = scaledPoints(detectedResult.location.points);
    detected = true;
    break;
  }
}
if (!detected) {
  let photoWidth = props.photo.photoWidth;
  let photoHeight = props.photo.photoHeight;
  let topLeft = {x:photoWidth*0.2,y:photoHeight*0.4};
  let topRight = {x:photoWidth*0.8,y:photoHeight*0.4};
  let bottomRight = {x:photoWidth*0.8,y:photoHeight*0.7};
  let bottomLeft = {x:photoWidth*0.2,y:photoHeight*0.7};
  points.value = scaledPoints([topLeft,topRight,bottomRight,bottomLeft]); //use a preset region
  Alert.alert('','No documents detected');
}
我们需要转换坐标以匹配屏幕上显示的图像。
const scaledPoints = (detectedPoints:[Point,Point,Point,Point]) => { let photoWidth:number = props.photo!.photoWidth; let photoHeight:number = props.photo!.photoHeight; let newPoints = []; let {displayedWidth, displayedHeight} = getDisplayedSize(); let widthDiff = (width - displayedWidth) / 2; let heightDiff = (height - displayedHeight) / 2; let xRatio = displayedWidth / photoWidth; let yRatio = displayedHeight / photoHeight; for (let index = 0; index < detectedPoints.length; index++) { const point = detectedPoints[index]; const x = point.x * xRatio + widthDiff; const y = point.y * yRatio + heightDiff; newPoints.push({x:x,y:y}); } return newPoints; }; -
使用Skia绘制多边形。
const polygonPoints = useDerivedValue(() => {
  return [vec(points.value[0].x,points.value[0].y),
  vec(points.value[1].x,points.value[1].y),
  vec(points.value[2].x,points.value[2].y),
  vec(points.value[3].x,points.value[3].y),
  vec(points.value[0].x,points.value[0].y)];
},[points]);

//...

<Points
  points={polygonPoints}
  mode="polygon"
  color="lightblue"
  style="fill"
  strokeWidth={4}
/>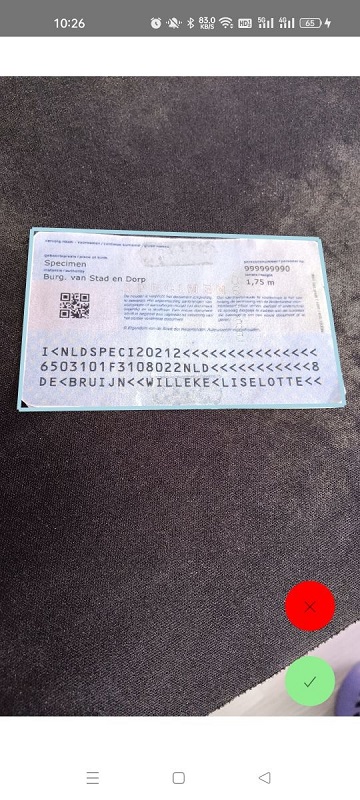
使用Gesture Handler使多边形可调整
-
在周围添加矩形,以表明多边形是可调整的。
const [selectedIndex,setSelectedIndex] = useState(-1);
const rectWidth = 10;
const rect1X = useDerivedValue(() => {
  return points.value[0].x - rectWidth;
},[points]);
const rect1Y = useDerivedValue(() => {
  return points.value[0].y - rectWidth;
},[points]);
const rect2X = useDerivedValue(() => {
  return points.value[1].x;
},[points]);
const rect2Y = useDerivedValue(() => {
  return points.value[1].y - rectWidth;
},[points]);
const rect3X = useDerivedValue(() => {
  return points.value[2].x;
},[points]);
const rect3Y = useDerivedValue(() => {
  return points.value[2].y;
},[points]);
const rect4X = useDerivedValue(() => {
  return points.value[3].x - rectWidth;
},[points]);
const rect4Y = useDerivedValue(() => {
  return points.value[3].y;
},[points]);
const rects = () => {
  let rectList = [{x:rect1X,y:rect1Y},{x:rect2X,y:rect2Y},{x:rect3X,y:rect3Y},{x:rect4X,y:rect4Y}];
  const items = rectList.map((rect,index) =>
    <Rect key={'rect-' + index}  style="stroke" strokeWidth={(index === selectedIndex) ? 6 : 4} x={rect.x} y={rect.y} width={rectWidth} height={rectWidth} color="lightblue" />
  );
  return items;
};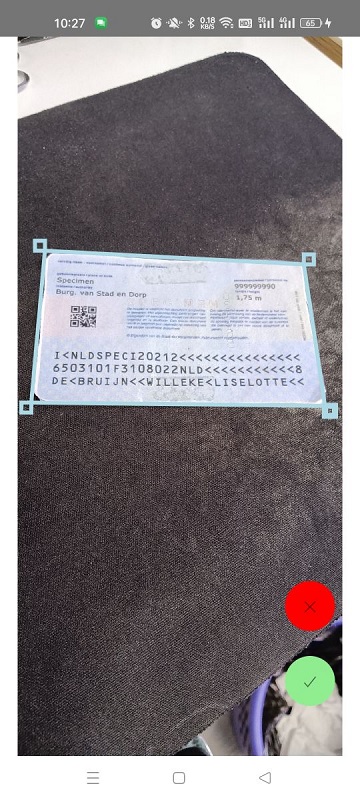
-
将组件包在
GestureHandlerRootView中。<GestureHandlerRootView> <Cropper photo={photo} onCanceled={()=>setShowCropper(false)} onConfirmed={(path) => displayCroppedImage(path)}/> </GestureHandlerRootView> -
为Canvas添加
GestureDetector。<GestureDetector gesture={composed}> <Canvas style={{ flex: 1 }}> </Canvas> </GestureDetector>检测器检测两个手势:点击和平移。在点击手势中,我们检测哪个矩形被点击。在平移手势中,移动选定的角点。
const panGesture = Gesture.Pan()
  .onChange((e) => {
    let index = selectedIndex;
    if (index !== -1) {
      let newPoints = JSON.parse(JSON.stringify(points.value));
      if (Math.abs(e.changeX) < 5 && Math.abs(e.changeY) < 5) {
        newPoints[index].x = newPoints[index].x + e.changeX;
        newPoints[index].y = newPoints[index].y + e.changeY;
      }
      points.value = newPoints;
    }
  });

const tapGesture = Gesture.Tap()
  .onBegin((e) => {
    const selectRect = () => {
      let rectList = [{x:rect1X,y:rect1Y},{x:rect2X,y:rect2Y},{x:rect3X,y:rect3Y},{x:rect4X,y:rect4Y}];
      for (let index = 0; index < 4; index++) {
        const rect = rectList[index];
        let diffX = Math.abs(e.absoluteX - rect.x.value);
        let diffY = Math.abs(e.absoluteY - rect.y.value);
        if (diffX < 35 && diffY < 35) {
          runOnJS(setSelectedIndex)(index);
          break;
        }
      }
    };
    selectRect();
  });

const composed = Gesture.Simultaneous(tapGesture, panGesture);
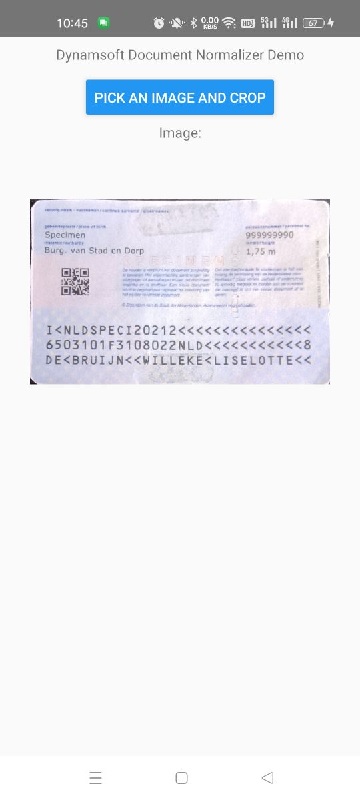
运行透视变换以获得裁剪图像
调整后,使用Dynamsoft Document Normalizer运行透视变换以获得裁剪后的图像。
const confirm = async () => {
  if (props.onConfirmed) {
    let location = {points:pointsScaledBack()};
    try {
      let normalizedImageResult = await DDN.normalizeFile(props.photo!.photoUri, location, {saveNormalizationResultAsFile:true});
      if (normalizedImageResult.imageURL) {
        props.onConfirmed(normalizedImageResult.imageURL);
      }
    } catch (error) {
      Alert.alert('','Incorrect Selection');
    }
  }
};
源代码
示例应用编写完成了。下载源代码并尝试使用:https://github.com/tony-xlh/react-native-image-cropper